Welcome to the final day of A Pinterest Christmas!
.jpg)
For the month of December, I'm thrilled to be participating in A Pinterest Christmas with a group of crafty ladies who have been inspired by projects on Pinterest and turned that (p)inspiration into reality. Today is a bit of a finale in which we're each sharing a crafty project.
For my final A Pinterest Christmas project, I'd like to share a bunting tutorial. I don't have any official (p)inspiration project, but I'm sure you too have seen a million buntings floating around the Internet. (I even made a bunting for a baby shower back in 2011.) Unlike my last one, this one features finished edges and is meant to make return appearances in the years to come. And, while it's featured in the Christmas setting, you can certainly adapt this tutorial for any holiday, season, or special occasion by simply using different fabric.

Supplies:
Cardboard or other material for template
Pen/Pencil/Marker
Ruler
Fabric (quantity depends upon size of bunting) for front and back of flags and binding
Thread (matching or contrast depending upon preference)
Scissors or rotary cutter and mat
Iron and ironing board
Pointy object for turning out corners (a chopstick works well)
Sewing machine
Step One: Getting Prepared
Measure the space you want to cover with your bunting, being sure to allow for sagging. Figure out the shape you want for your bunting flags (square, rectangle, triangle, etc.) and the dimensions of the shape...and then make a cardboard template with your ruler and pen/pencil/marker. Remember to consider how many flags will fit within a "sag" of the bunting.
If you can spare the fabric, I recommend making a trial flag to make sure that you've got the shape and dimensions right. My trial triangle was not the (mostly) equilateral triangle (roughly 8 inches per side) that I ended up using.

Step Two: Cutting Fabric

Using your template and cutting instrument, cut out the fabric for the front and back of your bunting flags. Remember that you'll use about twice as much fabric for fabric that has an obvious top and bottom (when cutting triangles) because you can't cut as efficiently. I had some curtain lining fabric laying around that I used for the back of my bunting flags.

Cut 2-inch strips of your binding fabric, leaving plenty of length for seams and excess on the ends of the bunting.

Step Three: Basic Sewing Assembly
For your flags, pin the front and back fabric facing each other and then sew all sides except for the top using a 1/4-inch seam allowance. For triangles, sew a slightly square point for less bulk in your end product.


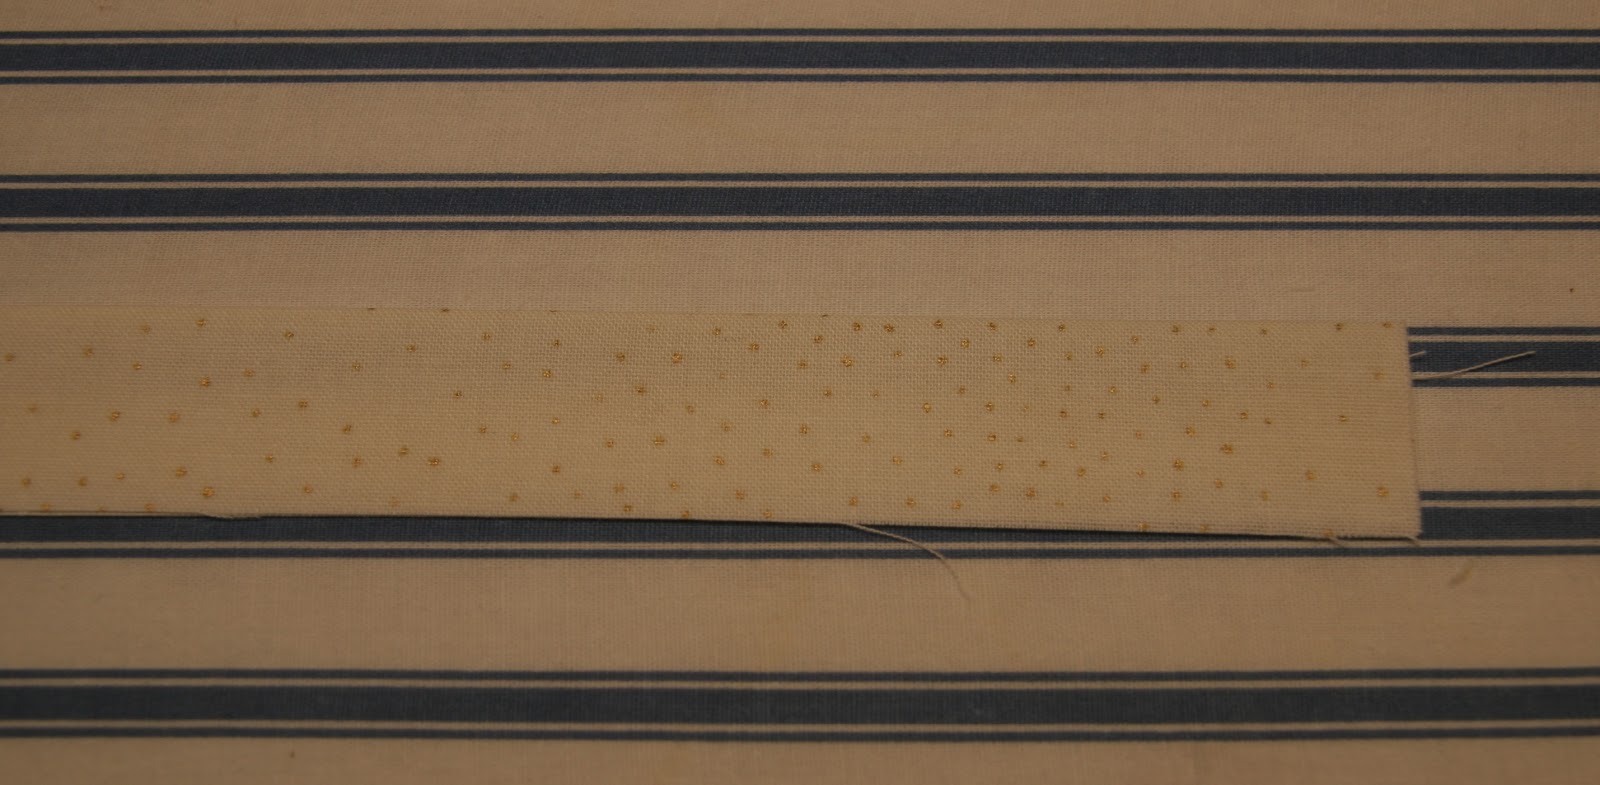
For the binding, sew the short sides of the 2-inch strips facing each other. As you can see, I was lazy and left the salvage on my fabric without any adverse consequences.

Step Four: Turning and Ironing
If you've made triangle flags, trim the tip of the triangles so that your final product will be less bulky. Then, turn your flags right side out, using your pointy object to get crisp corners. Iron your flags.

For the binding, first press the seams open...

...then iron the whole strip in half, lengthwise with the right sides showing on both sides...
...then iron the sides into the middle of the strip...

...then iron the binding together again...

Step Five: Finishing
Trim the top of your flags so that they have a rather straight line. Trim the ends of your binding to the desired length (for me, roughly 8 inches excess on either end of my flags). You can always trim your binding after the next step if you're unsure of the length.

To give your flags a finished look, you can sew a line around the sides other than the top using a 1/4-inch seam allowance. If you're not sure whether you want to do this, try it out on your trial flag.


To give the ends of your binding a finished look, simply turn in 1/4-inch on either end and sew a straight little line. Again, you can do this after the next step if you're unsure of your length.

Step Six: Final Assembly
Pin your flags inside the binding, like a sandwich, giving uniform spacing between the flags. It's rather important that you are consistent with spacing. For triangles, remember that your spacing will not be the distance between the tops of the triangles but rather from 1/2 inch down one flag to 1/2 inch down the next flag.


If you haven't already trimmed and finished the ends of the binding, do so now.
Sew a line along the entire length of the binding to connect the flags to the binding and create your bunting.

Step Seven: Hang and Enjoy!


Thinking of hanging a bunting in your home in the new year? Leave questions, comments, and links to inspired projects in the comments.
Remember to check out the rest of the A Pinterest Christmas ladies today for our finale:
Sally @ chacha and mogo
Maggi @ Greg, Maggi, and Rodney
Abbi @ The Pena Family (Lots of Great Projects as a Wrap Up)
HAPPY NEW YEAR!
No comments:
Post a Comment