This project has been affectionately known as "feely blanket" on my to-do list, though plenty of people refer to the same thing as a tag blanket. This is my favorite type of project because I had an idea, poked around the Internet to get some tips on how others have made similar projects, and then I made it up as I went along. Without further ado, here's the tutorial:
You'll need...
Fabric for blanket top (scraps work great; quantity depends on desired size)
Fleece for backing (quantity depends on desired size)
Quilting batting (quantity depends on desired size)
Ribbon (about 40 inches worth, though exact quantity depends on your preference)
Thread (matching or contrasting, depending on your preference)
Sewing Machine
Pins
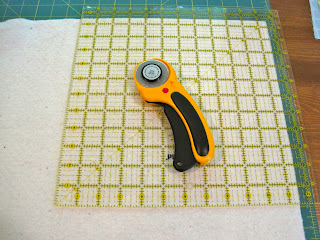
Instrument of measuring
Instrument of cutting
I think it's a good idea to pre-wash your blanket top and backing fabrics, but I suppose it's a personal preference.
To start making your blanket, you need to make your blanket top. This could be a solid piece of fabric, some quilting pattern, patchwork of whatever sized squares you want to use, or whatever suits your fancy. I made mine out of four 6-inch squares.
 |
| Lay out your arrangement. |
 |
| Place the top two patches face-to-face and sew them together with a 1/4-inch seam. Repeat with the bottom patches. Press the seams going the opposite direction from one another (preferably toward the dark fabric). |
 |
| Match up your center seams and pin together face-to-face. Sew the top row to the bottom row using a 1/4-inch seam. Press your new seam toward the row with the darker fabrics. |
Next, you'll measure your blanket top, cut the rest of your materials, and plan out your blanket.
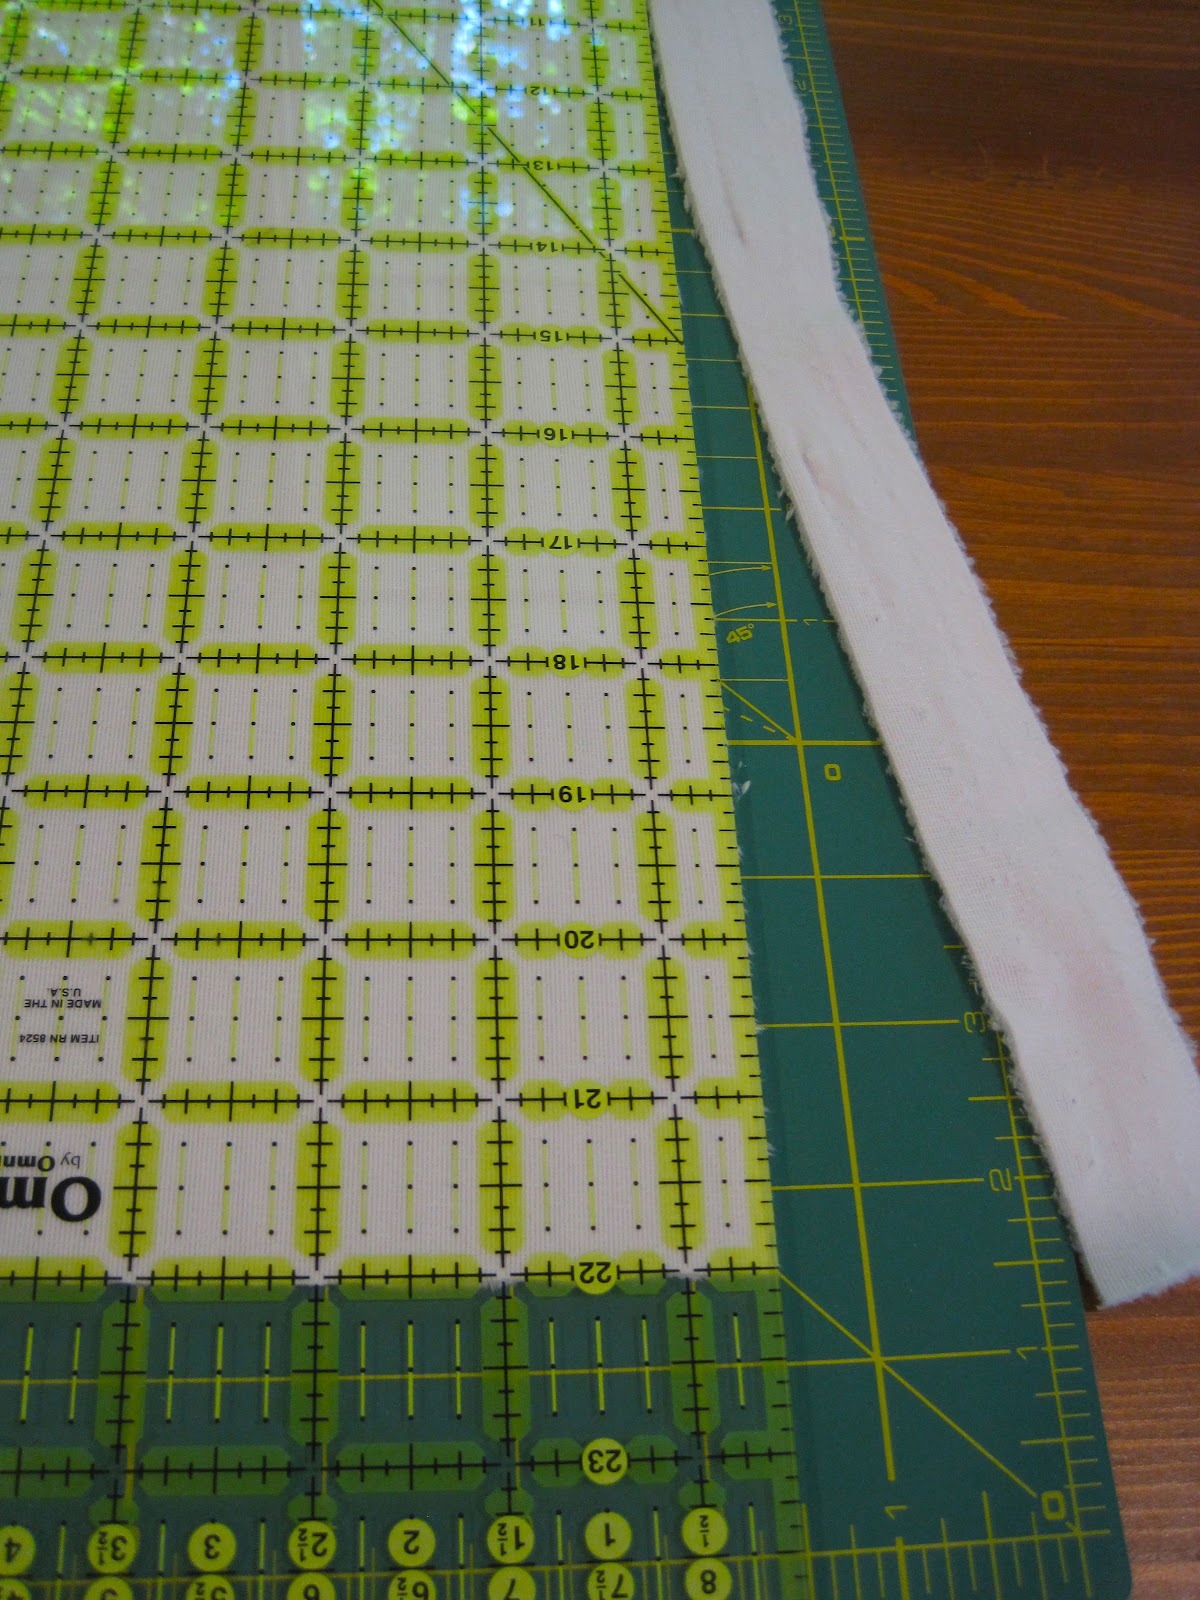
If you started with 6-inch blocks and kept a 1/4-inch seam, your blanket top should be 11.5 inches square. It's not a big deal if it measures differently, but you will want to know the dimensions.
 |
| Measure your blanket top. If your edges are uneven, you'll want to trim them so that each side is straight. |
 |
| Remove any the salvage from your backing fabric. |
 |
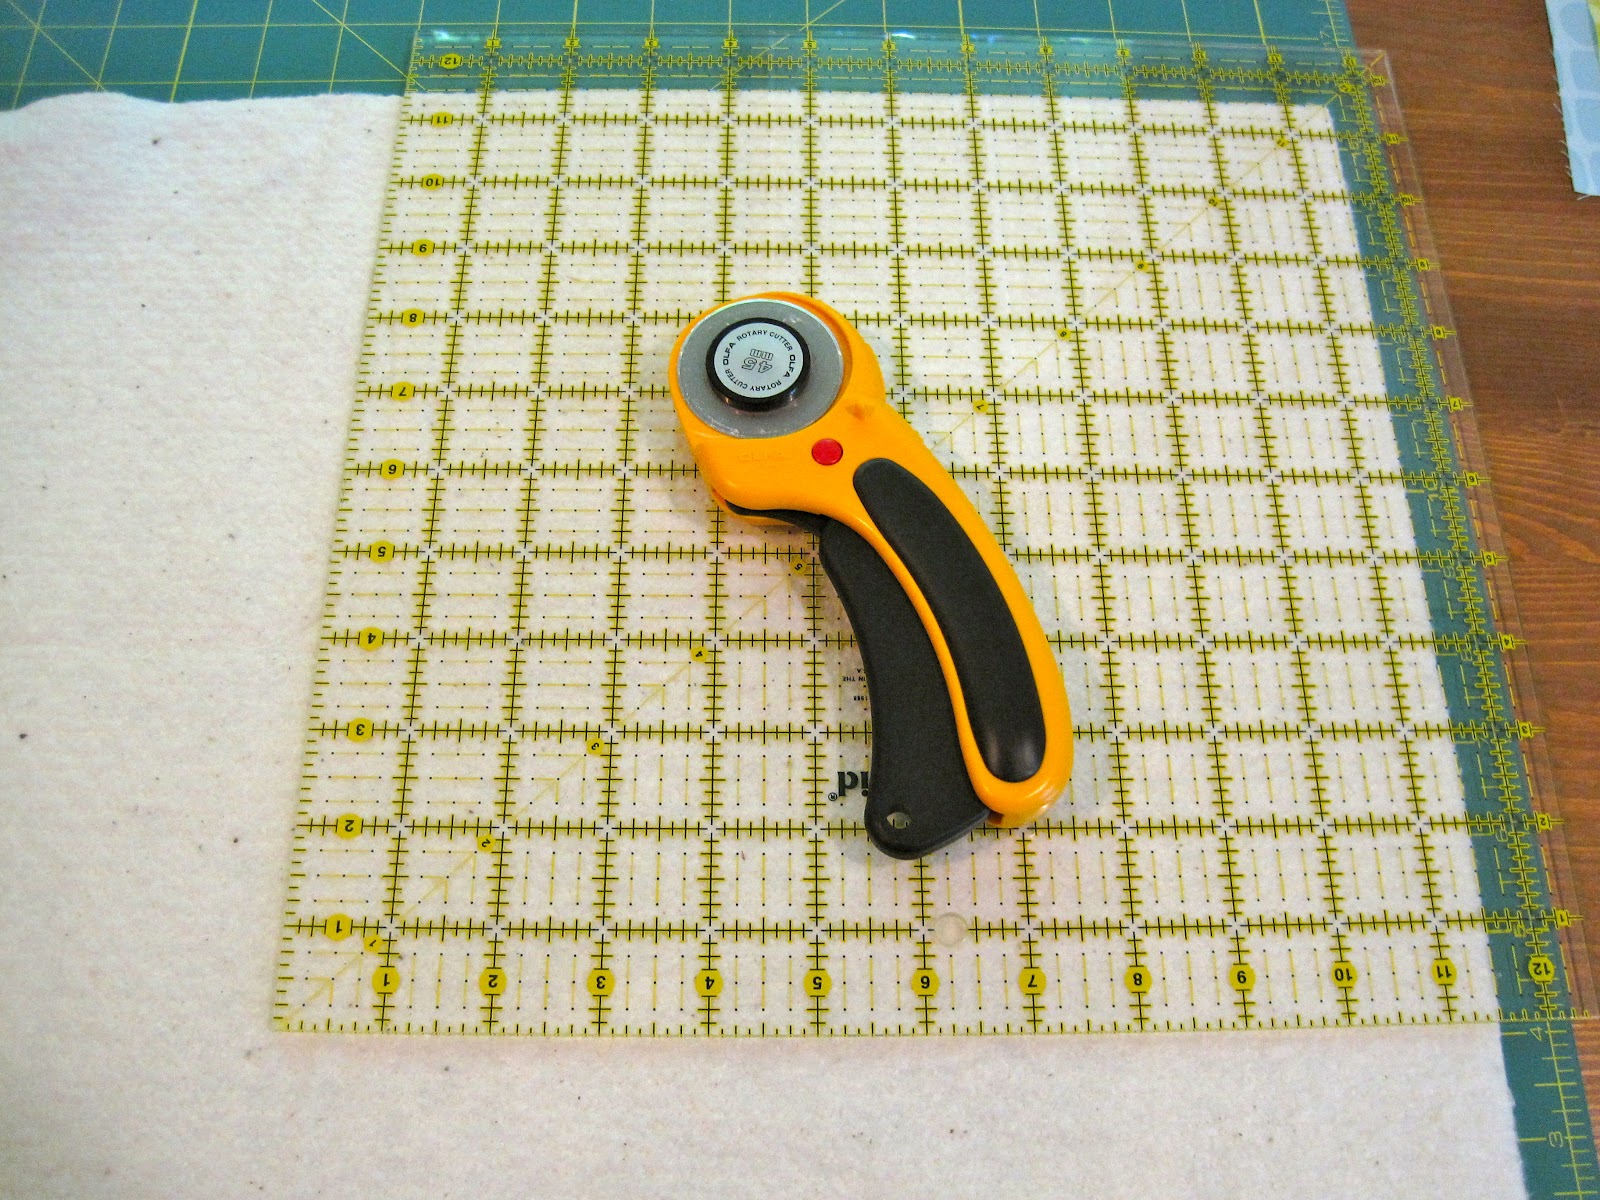
| Cut your backing fabric to the same dimensions as your finished blanket top. |
 |
| Cut your batting to the same dimensions as your finished blanket top. |
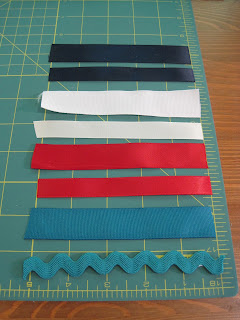 |
| Cut your ribbons to approximately five inches long. You can use as many or as few of ribbons as you want. Variety in ribbons gives the blanket character. I chose to put one ribbon on each side of each patch of the blanket top. |
 |
| Lay down your batting, and place your blanket top face-up on the batting. Plan where you want your ribbons to be placed, very approximately. |
 |
| Pin your blanket top to the batting (see the four pins in the middle). Fold your ribbon in half the way that you want it. Tentatively pin the ribbon toward the middle in the approximate location where you want it. |
 |
| No need to fully pin it... |
 |
| Lay out your backing fabric face up and put your blanket top with batting face down onto the backing fabric. The good sides of the backing fabric and blanket top should be facing each other, and some vicious looking pins should be sticking up. |
It's time to finalize the location of the ribbons and truly pin them into place.
 |
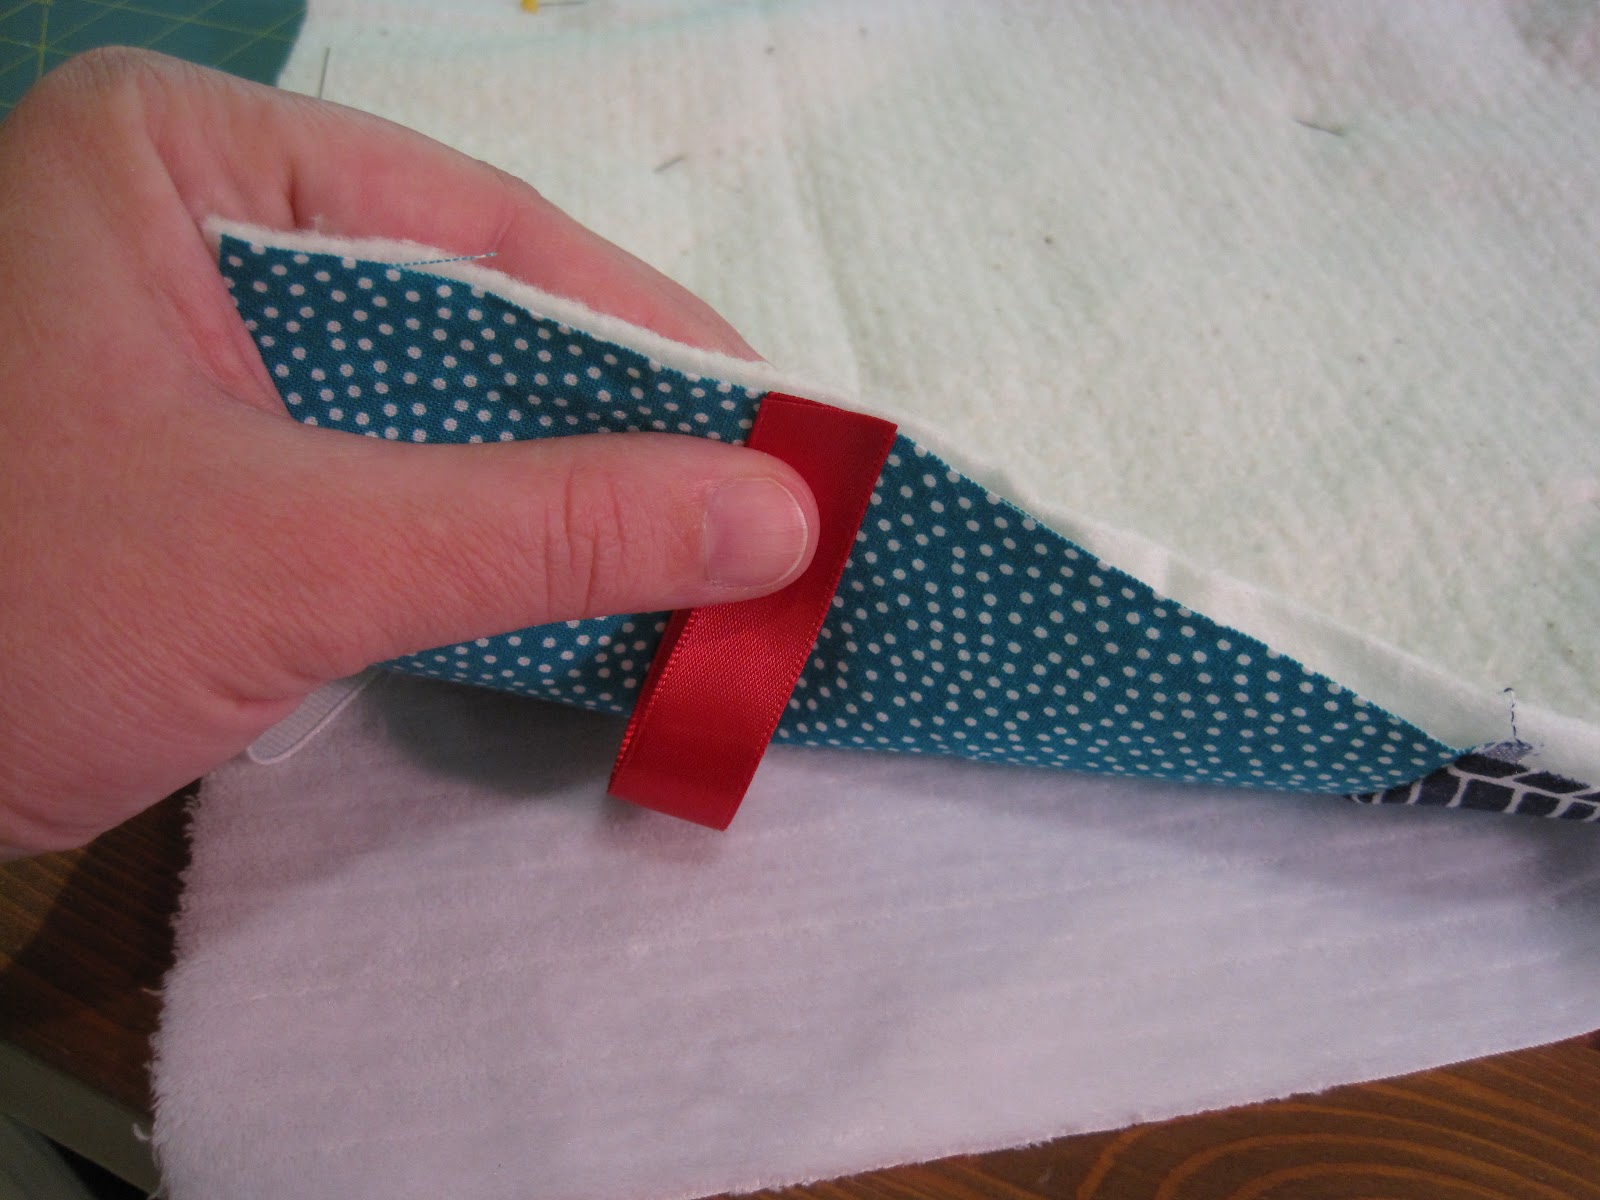
| Make sure that your ribbon is where you want it to be and the side of the ribbon that you want showing is, in fact, showing toward the middle of the blanket. The loop will be in the middle with the tails toward the edges of the blanket. |
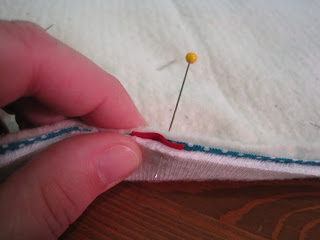 |
| Sandwich the ribbon in place between the blanket top and backing. Then, pin... |
 |
| ...in place. |
 |
| Repeat this process with all of your ribbons. Make sure that your layers are pretty flat. |
 |
| Pin or otherwise mark a section of the edge where you will not sew. This will allow you to turn the blanket right-side-out. I left about four inches. |
Now, it's time to sew. I've done it both ways, and I think it's best to sew with the fleece down and batting on top. The fabrics tend to shift a bit either way, but I got better results with the fleece down.
I used a pretty small stitch so that the blanket is strong. Start sewing just outside of your marked opening, approximately 1/4 inch from the edge of the fabric. Do at least a few back stitches so that you don't rip your seam when you turn your blanket inside out.
 |
| Back stitch where you start and stop. |
 |
| It's also a good idea to back stitch at the corners for extra strength. |
Because the fabrics tend to shift (perhaps a walking foot would cure this), it's a good idea to regularly (at least a couple of times per side) check that you're sewing through all layers.
Each time you get close to sewing a ribbon, stop with the needle engaged in the fabric. Remove your pin and check that your ribbon is where you want it, as straight as you want it, and that the tails are in the position desired (together or separated). Hold the ribbon in place while you sew it. Back stitch several times so that the ribbon is ultra secure.
 |
| Sew each ribbon carefully following the steps above. |
Once you've sewn all the way around to your ending pin, double check that you've sewn through all layers all the way around. (This is a good time to heat up your iron.) Before you reach into your blanket for the big reveal, carefully remove the pins marking the opening and the ones holding the blanket top to the batting.
 |
| Turn your blanket right-side-out through the opening you left. You'll probably want to use chopsticks or a spoon or something to turn the corners into nice points. |
 |
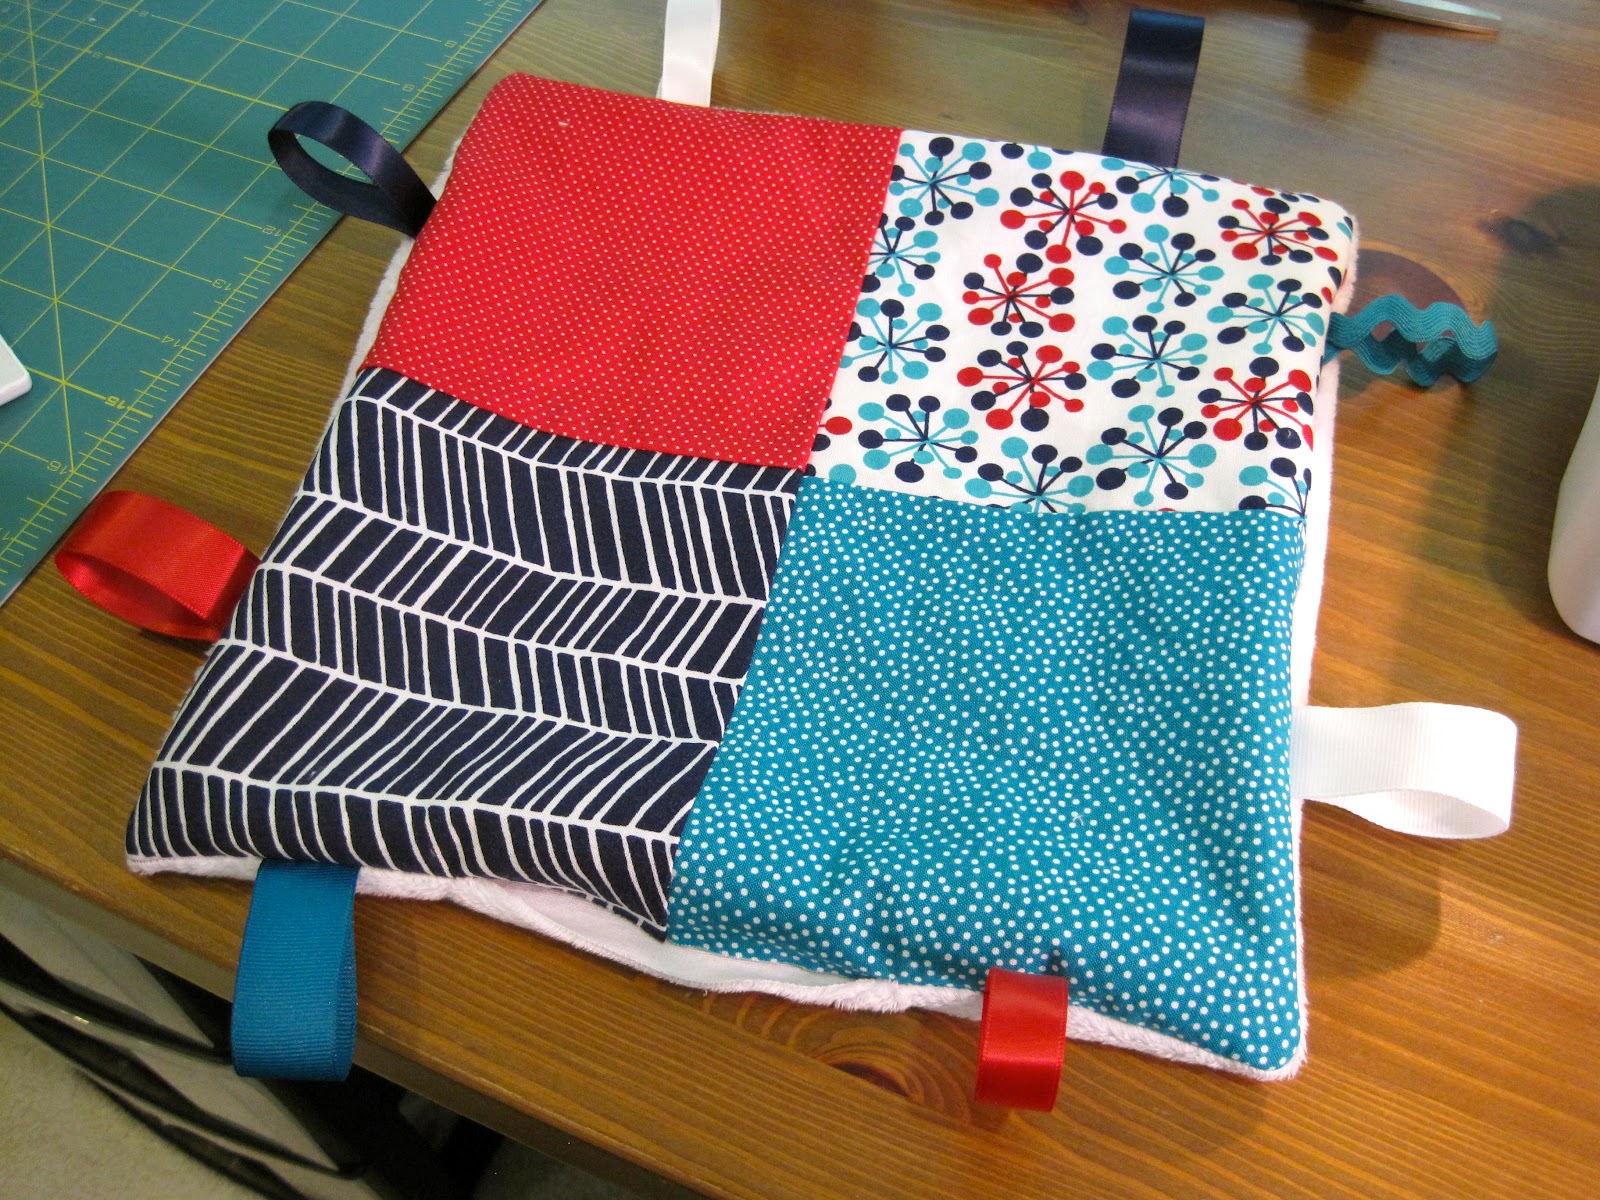
| Done, except for the finishing touches. |
 |
| Give your blanket a quick press to make the edges more defined. I think it's helpful to tug on the ribbons as you iron, but be careful to keep the iron from touching the ribbons as synthetic ribbons tend to melt under the heat. |
 |
| Where you left the opening, fold the fabrics inside to continue the nice seam. Iron and pin the opening. |
The finishing sewing is important for the stability of the blanket.
 |
| Start by sewing along the seams in the middle of the blanket. If you used more than four patches, start with the middle patches and work out. I like to sew about a half presser foot (very technical, I know) from the seam. Start sewing about 1/8 of an inch from the edge of the blanket and do a back stitch or two at the beginning of each row. |
 |
| End each row with a back stitch or two about the same distance from the edge of the blanket as you started. |
 |
| Sew the next line in the opposite direction as the first one. |
 |
| If you use my half presser foot measurement, your return line can be easily measured along the edge of the presser foot. |
 |
| Once you've sewed along the internal seams, sew along the entire perimeter of the blanket, making sure to get a good stitch through the fabric at the opening. Sewing quite close to the edge of the blanket allows you to sew through the ribbons and layers of fabric one last time. The outside stitches should roughly match up with where the internal lines of stitches ended. |
 |
| Take it slow on the corners to follow the natural curve of the fabric. |
And...you're done! Take a lint brush to your blanket and then admire it!
Here are some others that I made for our (spoiled) little girl: