
11 January 2013


05 January 2013
Wavy Walking
It seems like forever ago when I watched this tutorial and decided that I wanted to get a walking foot for my sewing machine. I'm not sure why it took me so long to spend $25 to get one, but I'm finally the proud owner of a basic walking foot.
It only took one test run to fall in love...which is why wavy quilting featured so heavily in this year's Christmas gifts. They might not be perfect, but aren't they fun and pretty?


It only took one test run to fall in love...which is why wavy quilting featured so heavily in this year's Christmas gifts. They might not be perfect, but aren't they fun and pretty?


02 January 2013
Madeleine - Week 27
Happy New Year!!
This has been quite the week in Miss Madeleine's life. Several times, I've caught her getting her bum up in the air and her knees under it - crawling is not too far away. This is also the week she started (out of nowhere) splashing like mad in the bath. Most obvious, though, is her tongue. That's right: Madeleine's tongue is out about half the time these days. It seems she's teething, and her tongue recognizes that there's something a little different going on in her mouth.

This has been quite the week in Miss Madeleine's life. Several times, I've caught her getting her bum up in the air and her knees under it - crawling is not too far away. This is also the week she started (out of nowhere) splashing like mad in the bath. Most obvious, though, is her tongue. That's right: Madeleine's tongue is out about half the time these days. It seems she's teething, and her tongue recognizes that there's something a little different going on in her mouth.

31 December 2012
A Pinterest Christmas: Bunting Tutorial
Welcome to the final day of A Pinterest Christmas!
.jpg)
For the month of December, I'm thrilled to be participating in A Pinterest Christmas with a group of crafty ladies who have been inspired by projects on Pinterest and turned that (p)inspiration into reality. Today is a bit of a finale in which we're each sharing a crafty project.
For my final A Pinterest Christmas project, I'd like to share a bunting tutorial. I don't have any official (p)inspiration project, but I'm sure you too have seen a million buntings floating around the Internet. (I even made a bunting for a baby shower back in 2011.) Unlike my last one, this one features finished edges and is meant to make return appearances in the years to come. And, while it's featured in the Christmas setting, you can certainly adapt this tutorial for any holiday, season, or special occasion by simply using different fabric.

Supplies:
Cardboard or other material for template
Pen/Pencil/Marker
Ruler
Fabric (quantity depends upon size of bunting) for front and back of flags and binding
Thread (matching or contrast depending upon preference)
Scissors or rotary cutter and mat
Iron and ironing board
Pointy object for turning out corners (a chopstick works well)
Sewing machine
Step One: Getting Prepared
Measure the space you want to cover with your bunting, being sure to allow for sagging. Figure out the shape you want for your bunting flags (square, rectangle, triangle, etc.) and the dimensions of the shape...and then make a cardboard template with your ruler and pen/pencil/marker. Remember to consider how many flags will fit within a "sag" of the bunting.
If you can spare the fabric, I recommend making a trial flag to make sure that you've got the shape and dimensions right. My trial triangle was not the (mostly) equilateral triangle (roughly 8 inches per side) that I ended up using.

Step Two: Cutting Fabric

Using your template and cutting instrument, cut out the fabric for the front and back of your bunting flags. Remember that you'll use about twice as much fabric for fabric that has an obvious top and bottom (when cutting triangles) because you can't cut as efficiently. I had some curtain lining fabric laying around that I used for the back of my bunting flags.

Cut 2-inch strips of your binding fabric, leaving plenty of length for seams and excess on the ends of the bunting.

Step Three: Basic Sewing Assembly
For your flags, pin the front and back fabric facing each other and then sew all sides except for the top using a 1/4-inch seam allowance. For triangles, sew a slightly square point for less bulk in your end product.


For the binding, sew the short sides of the 2-inch strips facing each other. As you can see, I was lazy and left the salvage on my fabric without any adverse consequences.

Step Four: Turning and Ironing
If you've made triangle flags, trim the tip of the triangles so that your final product will be less bulky. Then, turn your flags right side out, using your pointy object to get crisp corners. Iron your flags.

For the binding, first press the seams open...

...then iron the whole strip in half, lengthwise with the right sides showing on both sides...
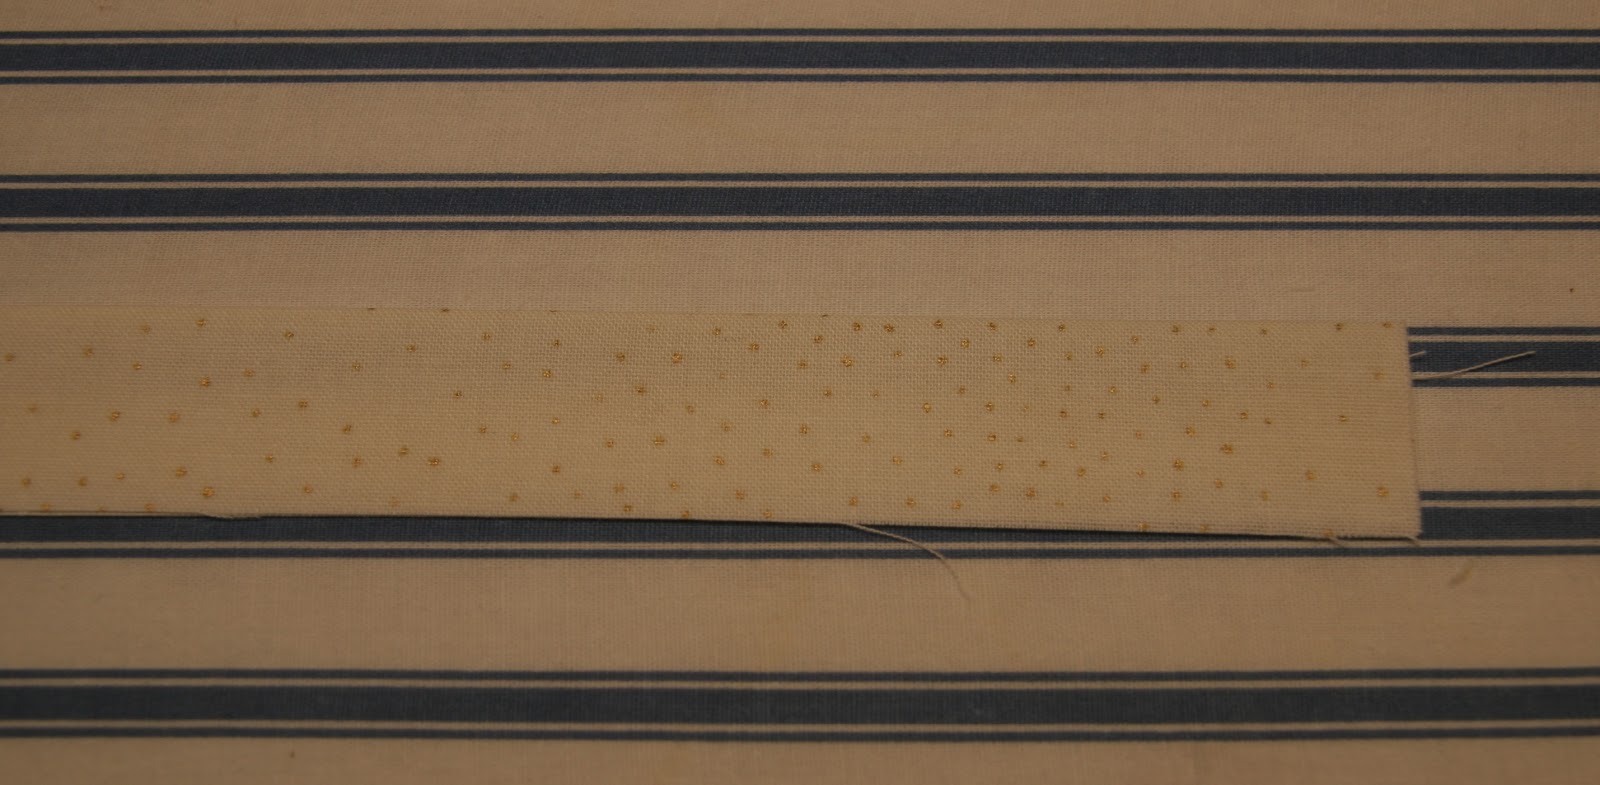
...then iron the sides into the middle of the strip...

...then iron the binding together again...

Step Five: Finishing
Trim the top of your flags so that they have a rather straight line. Trim the ends of your binding to the desired length (for me, roughly 8 inches excess on either end of my flags). You can always trim your binding after the next step if you're unsure of the length.

To give your flags a finished look, you can sew a line around the sides other than the top using a 1/4-inch seam allowance. If you're not sure whether you want to do this, try it out on your trial flag.


To give the ends of your binding a finished look, simply turn in 1/4-inch on either end and sew a straight little line. Again, you can do this after the next step if you're unsure of your length.

Step Six: Final Assembly
Pin your flags inside the binding, like a sandwich, giving uniform spacing between the flags. It's rather important that you are consistent with spacing. For triangles, remember that your spacing will not be the distance between the tops of the triangles but rather from 1/2 inch down one flag to 1/2 inch down the next flag.


If you haven't already trimmed and finished the ends of the binding, do so now.
Sew a line along the entire length of the binding to connect the flags to the binding and create your bunting.

Step Seven: Hang and Enjoy!


Thinking of hanging a bunting in your home in the new year? Leave questions, comments, and links to inspired projects in the comments.
Remember to check out the rest of the A Pinterest Christmas ladies today for our finale:
Sally @ chacha and mogo
Maggi @ Greg, Maggi, and Rodney
Abbi @ The Pena Family (Lots of Great Projects as a Wrap Up)
HAPPY NEW YEAR!
30 December 2012
Reflections
It's hard to believe that we're already at the end of 2012, facing 2013 in just a couple days. This has been a busy year and brought a lot of changes to our lives. The biggest change, of course, was the beautiful addition of Madeleine to our family...followed at a distance by buying our new house and selling the old one. Through the year, I spent time (amongst other things) volunteering, prepping for baby, learning to quilt, blogging, and settling into motherhood. George's work responsibilities have grown as he has found success in management - both a blessing and a curse. We've seen parents face illness and recover. We've continued many old friendships and made a few new ones. We've traveled domestically and internationally, visiting both of our families and several close friends. And, while we haven't gotten to dive or ski/snowboard as much as we'd like, I think I speak for George and me when I say that Madeleine's love and joy compensates.
So what about 2013? I have a few ideas of things I'd like to accomplish in the new year.
I'm hoping to find a comfortable place in which I can be a great mother to Madeleine, wife to George, and keeper of our home while pursuing my own endeavor - whether it be legal, crafty, or in the blogosphere. I haven't yet sorted out just what I want or what opportunities are available to me, but I will.
I will find my way back to fitness. I want to set a good example for Madeleine in terms of both making exercise a part of life and loving one's own body...and neither is possible without being a lot more active. I loved prenatal yoga and want to try some real yoga. I also must admit that I've been thinking of returning to my running roots and have even contemplated the ever popular half marathon, but I'm not ready to fully commit to that just yet. First, I need to find myself a new pair of sneakers as my last running shoes were purchased when I was still a Miss. You can do the math.
I want to put those 3947 pins to good use organizing my life. That is, I'm ready to make an up-front investment into systems and organization that will save me time in running and caring for our home in the long run. Office, pantry, and closets: I'm coming for you!
I hope to get a regular babysitting schedule established so that I can once again date my husband. I also want to make it a priority to give George time to build and enjoy his hobbies once again.
I plan to start a perpetual calendar (inspired by this but stored in a Moleskine for portability) as a way to track my days. I figure that if I can remember to take my vitamins every day, I can remember to spend 3 minutes jotting down a thought for the day.
It's always fun to look back at the year. At the end of 2013, I hope we'll be a little more settled in our house, in a little better shape, and maybe even a little happier. Stay tuned to see what happens along the way.
What were the highlights of your 2012? What are your hopes for 2013?
So what about 2013? I have a few ideas of things I'd like to accomplish in the new year.
I'm hoping to find a comfortable place in which I can be a great mother to Madeleine, wife to George, and keeper of our home while pursuing my own endeavor - whether it be legal, crafty, or in the blogosphere. I haven't yet sorted out just what I want or what opportunities are available to me, but I will.
I will find my way back to fitness. I want to set a good example for Madeleine in terms of both making exercise a part of life and loving one's own body...and neither is possible without being a lot more active. I loved prenatal yoga and want to try some real yoga. I also must admit that I've been thinking of returning to my running roots and have even contemplated the ever popular half marathon, but I'm not ready to fully commit to that just yet. First, I need to find myself a new pair of sneakers as my last running shoes were purchased when I was still a Miss. You can do the math.
I want to put those 3947 pins to good use organizing my life. That is, I'm ready to make an up-front investment into systems and organization that will save me time in running and caring for our home in the long run. Office, pantry, and closets: I'm coming for you!
I hope to get a regular babysitting schedule established so that I can once again date my husband. I also want to make it a priority to give George time to build and enjoy his hobbies once again.
I plan to start a perpetual calendar (inspired by this but stored in a Moleskine for portability) as a way to track my days. I figure that if I can remember to take my vitamins every day, I can remember to spend 3 minutes jotting down a thought for the day.
It's always fun to look back at the year. At the end of 2013, I hope we'll be a little more settled in our house, in a little better shape, and maybe even a little happier. Stay tuned to see what happens along the way.
What were the highlights of your 2012? What are your hopes for 2013?
Subscribe to:
Posts (Atom)