
19 December 2012
Madeleine - Week 25
Our sweet Madeleine was a little somber during today's photoshoot...though she should have been celebrating because her grandma's vision has now fully returned!! What great news!


17 December 2012
A Pinterest Christmas: Christmas Tree Forest
Welcome to Week Three of A Pinterest Christmas
.jpg)
For the month of December, I'm thrilled to be participating in A Pinterest Christmas with a group of crafty ladies who have been inspired by projects on Pinterest and turned that (p)inspiration into reality.
- - -
A wreath is on the door. The tree (or alternative) is decked with ornaments. It's time to show some love to the mantel.
This week's (p)inspiration comes from this series (parts 1, 2, and 3) of Christmas trees made from simple cardboard cones.
 |
| Source |
I must admit that I used a combination of DIY cones made from used cardboard and $2 cones purchased from the local craft store. It was easy enough to make cones, but the "perfect" purchased ones were a little better for materials where the shape really mattered. Also, I had a really hard time keeping myself from turning any and every material I could think of into a tree. This project really has a million possibilities when you look in your craft cupboard, around the craft store, and through the thrift store.
Without further ado, here are my trees:


One-by-one now...
 |
| Felt Loop Tree |
I made this little felt guy by cutting 3-inch strips of felt...

...folding the strips in half and hot gluing the long sides together...

...cutting slits along the felt...

...hot gluing the rows in layers on top of each other...

...and finishing the top with a little square of felt.

When you do this, don't cut your slits too high so that the cardboard shows through. Oops.

 |
| Kidney Bean Tree |
I made this guy by simply hot gluing dry kidney beans to a cone, wiping off the hot glue strings, and spray painting the whole thing cherry red (to give more shine to the beans and color any cardboard showing through). This is my favorite tree despite it being very time and hot glue consuming.

 |
| Bathmat Tree |
This one is made by wrapping an old (washed) bathmat around a tree and securing it with hot glue. Just be sure to wrap and glue before cutting. Doh!

 |
| Small Garland Tree |
 |
| Ruffle Tree |
This guy was made from repurposing the ties from tie top curtains, which I long ago washed and ruined (doh!). I used almost the same method as the (p)inspiration poster did for her ruffle tree.
 |
| Yarn Tree |
 |
| Sequin Tree |
 |
| Large Garland Tree |
As I said, the bean one was my favorite, if a bit demanding. I think the felt one has a lot of potential...if I just could have practiced a bit more. I loved how simple it was to make the yarn one. The small garland one was the best looking for little effort.
So, what will you turn into a little Christmas tree? Make sure you have lots of hot glue on hand, and feel free to leave questions in the comments. I'd love for you to comment with a link to any projects you make inspired by mine.
- - -
Remember to check out the rest of the A Pinterest Christmas ladies this week and throughout the month of December:
Tuesdays -
Sally @ chacha and mogo (A Stocking for Mogo)
Kendra @ The Gilbertson Family (DIY Yarn Trees)
Wednesdays -
Misha @ emerald city diaries (Paper Tree Forest)
Michelle @ this grey house (Yarn Trees)
Thursdays -
Maggi @ Greg, Maggi, and Rodney (Odds and Ends)
Abbi @ The Pena Family (Christmas Treats)
14 December 2012
Mama's Helper
As I mentioned, Madeleine was very patient when I was photographing my ornaments, and the photoshoot turned into a bit of a Madeleine photoshoot.


Happy Friday!
12 December 2012
Madeleine - Week 24
This week's fabric shows off the beautiful New Zealand pohutukawa, which blooms around this time of the year.


10 December 2012
A Pinterest Christmas: DIY Ornaments & Alternative Christmas Tree
Welcome to Week Two of A Pinterest Christmas
For the month of December, I'm thrilled to be participating in A Pinterest Christmas with a group of crafty ladies who have been inspired by projects on Pinterest and turned that (p)inspiration into reality.
- - -
The wreath is on the door. Now, it's time for a tree and ornaments.
We have so much going on this holiday season that George and I decided to forego a tree. It's sad, but it'll make next year's tree even more special, right? At any rate, I'm okay giving up the tree as long as I have a place to display some ornaments. That's where my first (p)inspiration comes in.
 |
| Source |
I liked these branches in a tall vase and knew branches in my new giraffe vase would be perfect! I started collecting branches in my yard and drying them until I had a good collection from which to select the perfect branches. I bought spray paint and intended to turn them cherry red until I saw how pretty they were in their natural state (including some moss...this is the Pacific Northwest after all).

Keep reading (or scrolling) to see how they look decorated with ornaments...
(P)INSPIRATION ORNAMENT #1
Last year, I was inspired by Misha's wedding invitation ornament...
 |
| Misha's Ornament |
...and then made my own.
 |
| Mine |
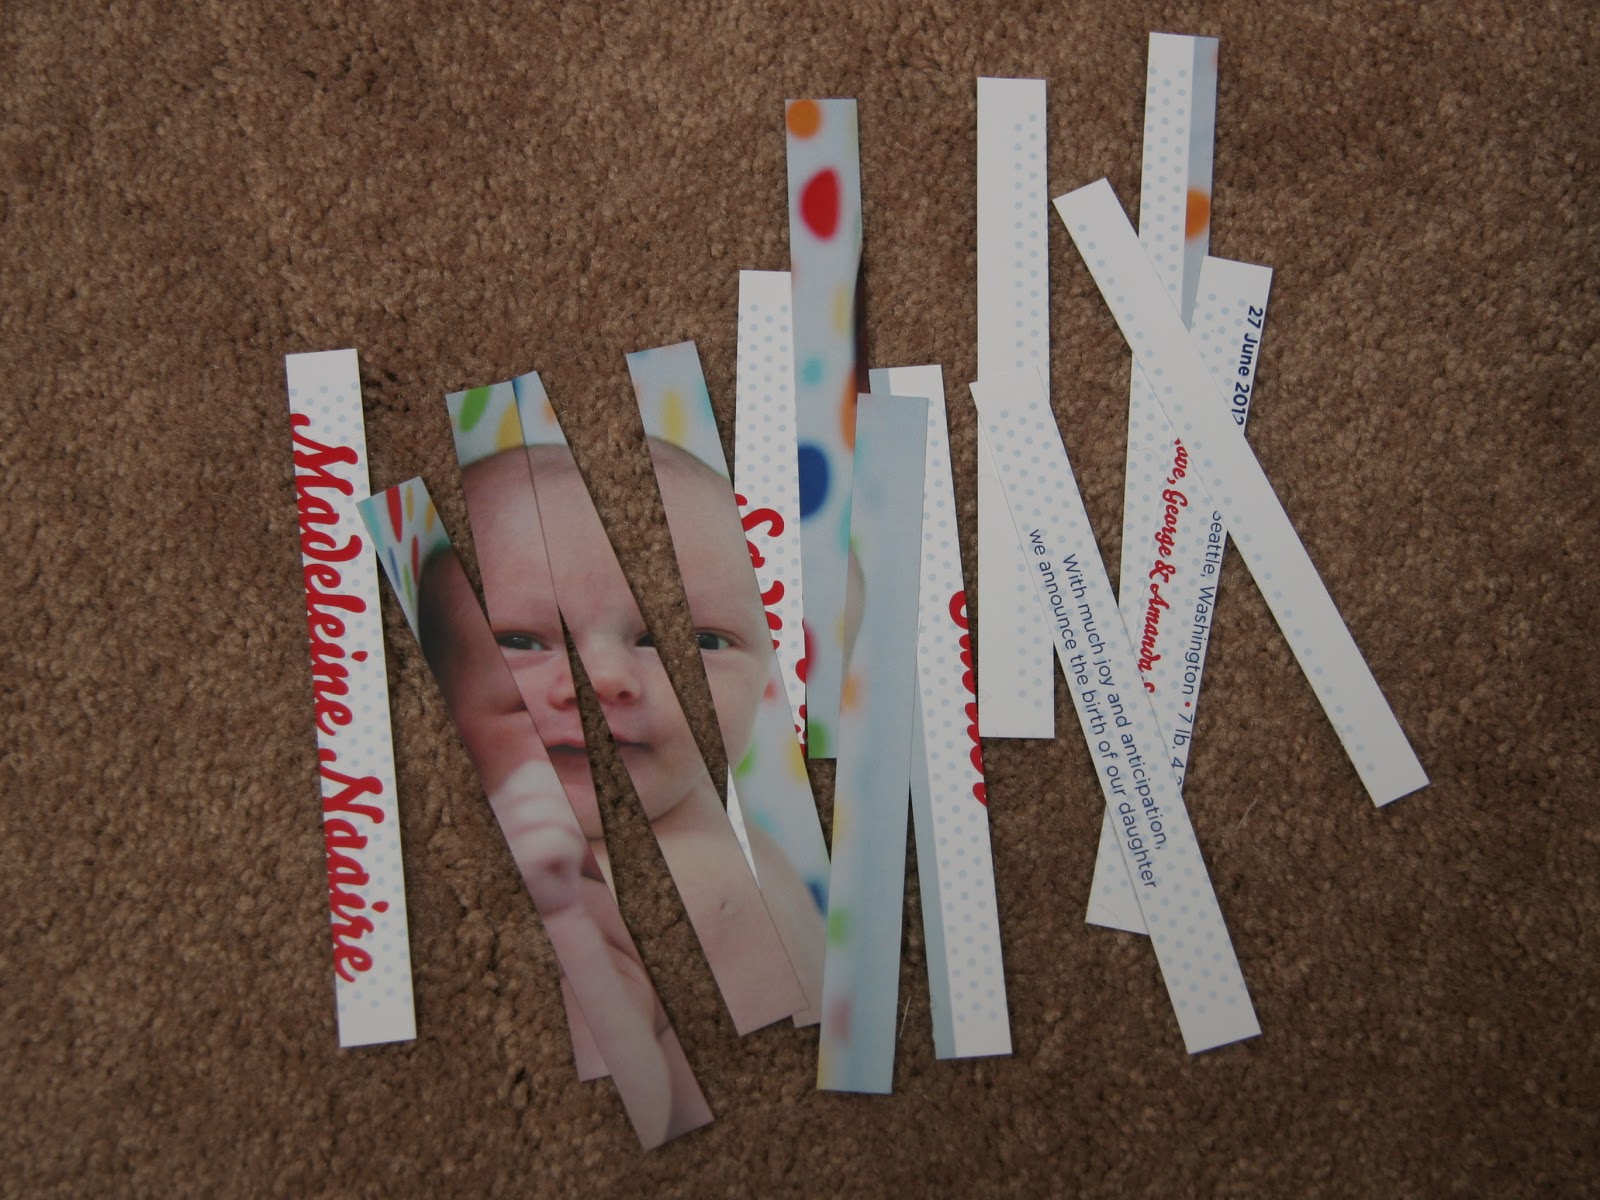
With the addition of Madeleine comes the addition of her birth announcement ornament. It's made the same way as the others (see Misha's tutorial) and will hopefully look great for many years to come.


(P)INSPIRATION ORNAMENT #2
I pinned this second ornament long before Madeleine was born and am really excited to see it come to life.
 |
| Source |
Ours didn't come out quite as perfectly as the original, but I am still pretty pleased with the results.


(P)INSPIRATION ORNAMENT #3
Because we moved houses this year, I thought we needed an ornament or two to commemorate this milestone, and I loved this (p)inspiration ornament.
 |
| Source |
I used some polymer clay, a rolling pin, and a biscuit cutter to make cookie-like objects. Then, I pressed the key into the clay and removed it before baking the clay. Once it was cool, I wrote the dates on the ornaments with a paint marker.
I wish I would have: used darker clay, taken more time to work with the edges of the clay, and used a different (finer) marker. Alas, here are the results:

(P)INSPIRATION ORNAMENT #4
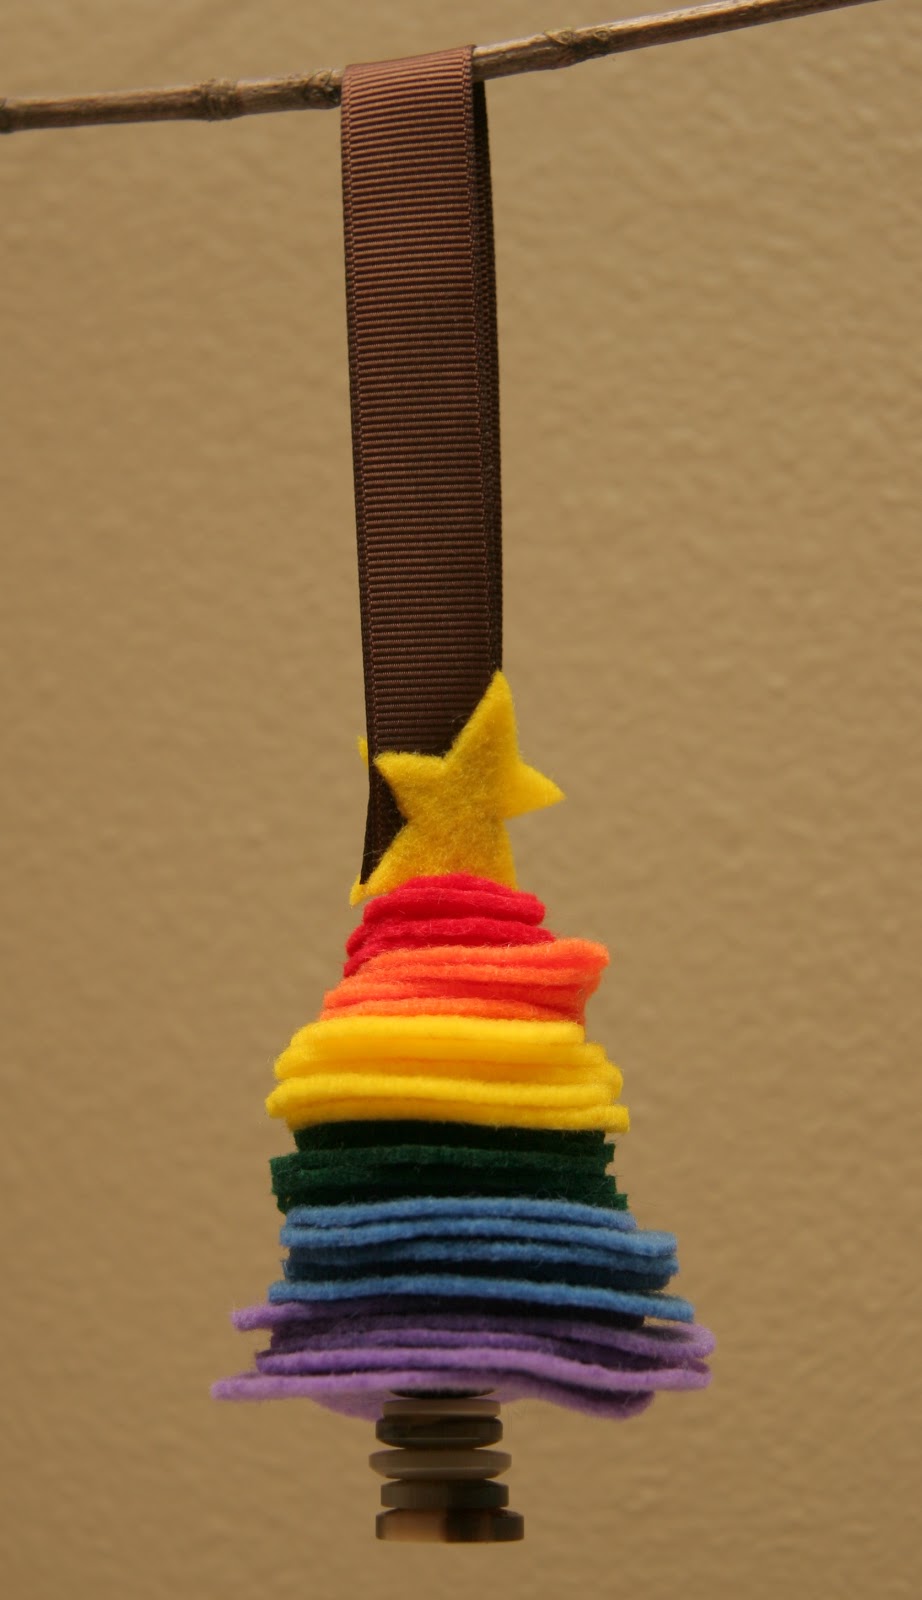
I love felt and rainbows, so I was drawn to this cute little felt rainbow tree ornament.

(P)INSPIRATION ORNAMENT #5
Okay. Maybe I got a little carried away with making ornaments. Anyway, I've saved the surprise favorite for last. Squirt some paint in some glass ornaments and tie some ribbon on top - easy enough, right?
 |
| Source |
Right. It really was that simple...although, a week after making the ornaments, there are still wet pools of paint in the bottom of my ornaments. I may have been over zealous with my paint. Ah, well. I really enjoyed making these ornaments and can see myself making these with a slightly older Madeleine.


See how they all came together on my branches (with a few other favorite ornaments):

There's just one more piece of credit I need to give before signing off: this little sweetie was incredibly patient and giggly while I took photos of all of the ornaments. Good (hopefully crafty) girl.

What ornaments are on your tree? What kind of tree do you have?
Thinking about using branches as an alternative Christmas tree or making some ornaments? Feel free to leave questions in the comments, and I'd love for you to comment with a link to any projects you make inspired by mine.
- - -
Remember to check out the rest of the A Pinterest Christmas ladies this week and throughout the month of December:
Tuesdays -
Sally @ chacha and mogo (Ornaments and Junk!)
Kendra @ The Gilbertson Family (DIY Ornaments)
Wednesdays -
Michelle @ this grey house (Ornaments and Scrabble)
Thursdays -
Maggi @ Greg, Maggi, and Rodney (Ruffle Tree Skirt)
Subscribe to:
Posts (Atom)