Welcome to Week Two of A Pinterest Christmas
.jpg)
For the month of December, I'm thrilled to be participating in A Pinterest Christmas with a group of crafty ladies who have been inspired by projects on Pinterest and turned that (p)inspiration into reality.
- - -
The wreath is on the door. Now, it's time for a tree and ornaments.
We have so much going on this holiday season that George and I decided to forego a tree. It's sad, but it'll make next year's tree even more special, right? At any rate, I'm okay giving up the tree as long as I have a place to display some ornaments. That's where my first (p)inspiration comes in.
 |
| Source |
I liked these branches in a tall vase and knew branches in my new giraffe vase would be perfect! I started collecting branches in my yard and drying them until I had a good collection from which to select the perfect branches. I bought spray paint and intended to turn them cherry red until I saw how pretty they were in their natural state (including some moss...this is the Pacific Northwest after all).

Keep reading (or scrolling) to see how they look decorated with ornaments...
(P)INSPIRATION ORNAMENT #1
Last year, I was inspired by Misha's wedding invitation ornament...
 |
| Misha's Ornament |
...and then made my own.
 |
| Mine |
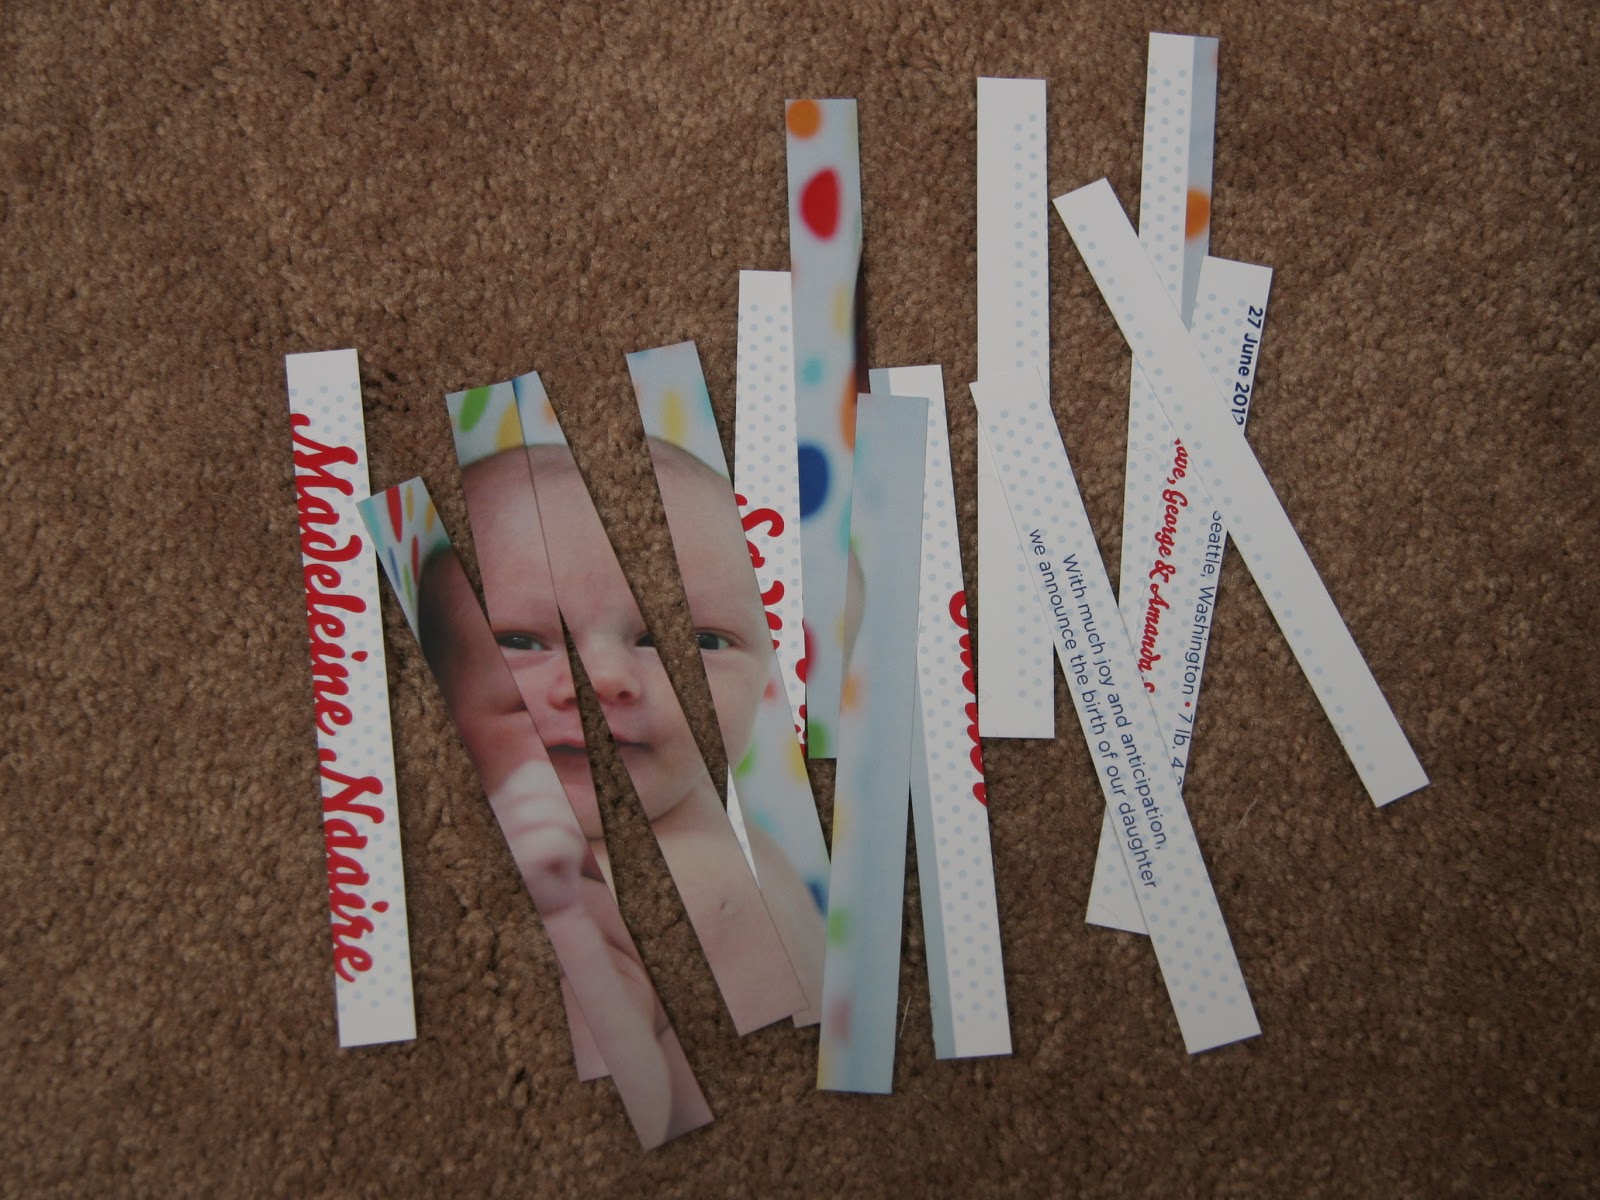
With the addition of Madeleine comes the addition of her birth announcement ornament. It's made the same way as the others (see Misha's tutorial) and will hopefully look great for many years to come.


(P)INSPIRATION ORNAMENT #2
I pinned this second ornament long before Madeleine was born and am really excited to see it come to life.
 |
| Source |
Ours didn't come out quite as perfectly as the original, but I am still pretty pleased with the results.


(P)INSPIRATION ORNAMENT #3
Because we moved houses this year, I thought we needed an ornament or two to commemorate this milestone, and I loved this (p)inspiration ornament.
 |
| Source |
I used some polymer clay, a rolling pin, and a biscuit cutter to make cookie-like objects. Then, I pressed the key into the clay and removed it before baking the clay. Once it was cool, I wrote the dates on the ornaments with a paint marker.
I wish I would have: used darker clay, taken more time to work with the edges of the clay, and used a different (finer) marker. Alas, here are the results:

(P)INSPIRATION ORNAMENT #4
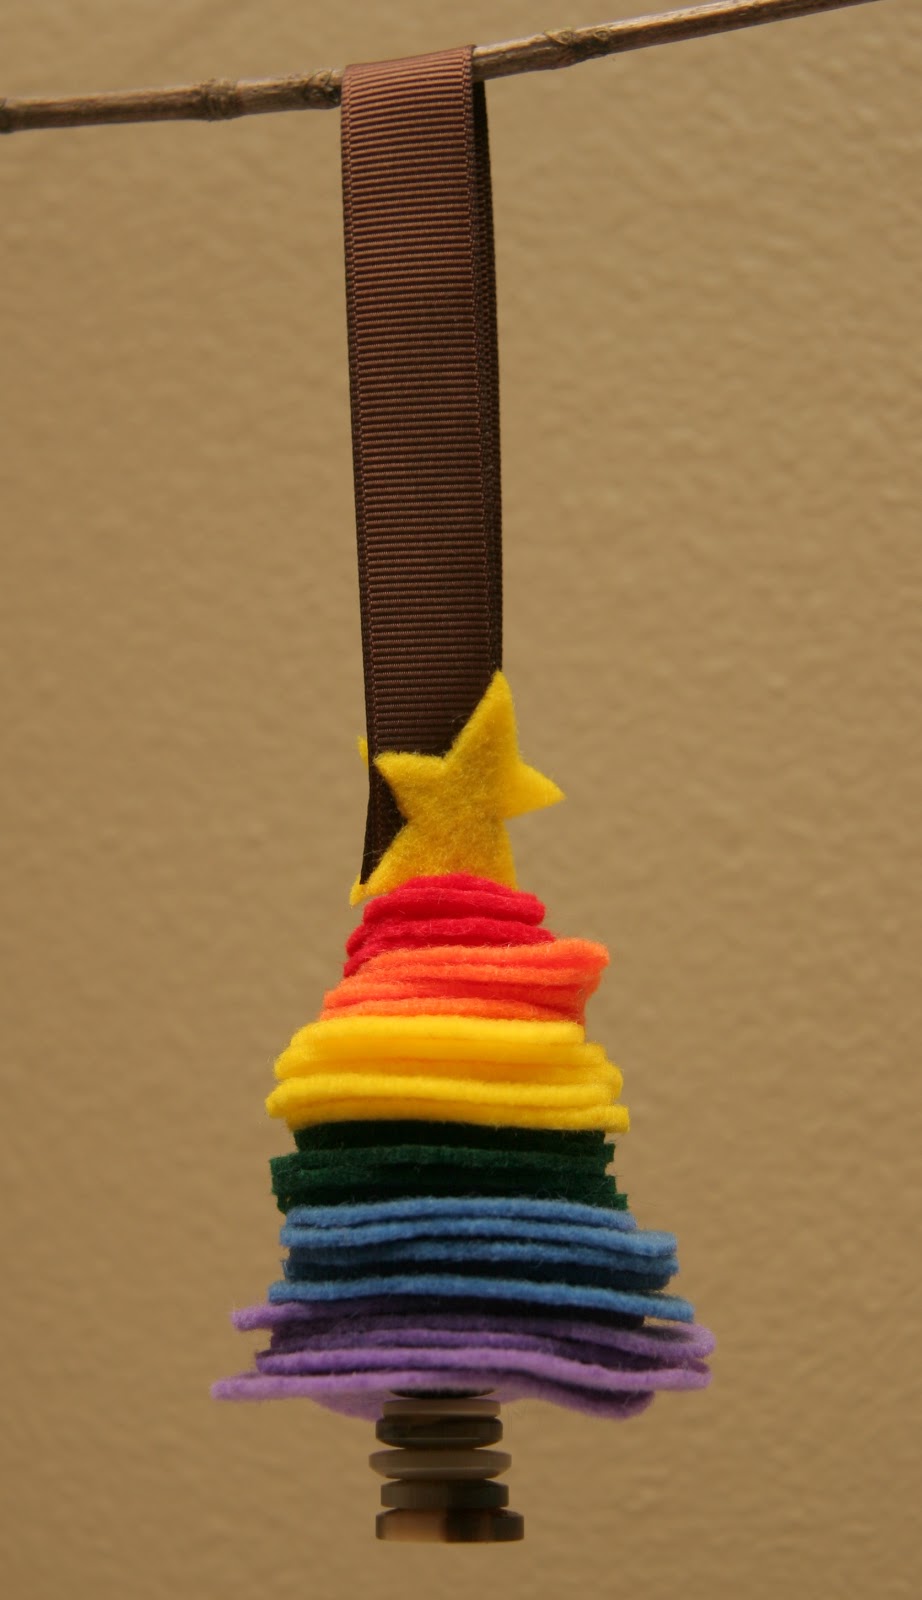
I love felt and rainbows, so I was drawn to this cute little felt rainbow tree ornament.

(P)INSPIRATION ORNAMENT #5
Okay. Maybe I got a little carried away with making ornaments. Anyway, I've saved the surprise favorite for last. Squirt some paint in some glass ornaments and tie some ribbon on top - easy enough, right?
 |
| Source |
Right. It really was that simple...although, a week after making the ornaments, there are still wet pools of paint in the bottom of my ornaments. I may have been over zealous with my paint. Ah, well. I really enjoyed making these ornaments and can see myself making these with a slightly older Madeleine.


See how they all came together on my branches (with a few other favorite ornaments):

There's just one more piece of credit I need to give before signing off: this little sweetie was incredibly patient and giggly while I took photos of all of the ornaments. Good (hopefully crafty) girl.

What ornaments are on your tree? What kind of tree do you have?
Thinking about using branches as an alternative Christmas tree or making some ornaments? Feel free to leave questions in the comments, and I'd love for you to comment with a link to any projects you make inspired by mine.
- - -
Remember to check out the rest of the A Pinterest Christmas ladies this week and throughout the month of December:
Tuesdays -
Sally @ chacha and mogo (Ornaments and Junk!)
Kendra @ The Gilbertson Family (DIY Ornaments)
Wednesdays -
Michelle @ this grey house (Ornaments and Scrabble)
Thursdays -
Maggi @ Greg, Maggi, and Rodney (Ruffle Tree Skirt)
No comments:
Post a Comment